This is a little project that's been ongoing for some time, way before the Arduino shuttle was created, in fact the Arduino shuttle came about while I was researching ways to automate a standard Hornby Dublo turntable. It was while doing my research that I first saw examples of turntables being motorised using the Arduino and stepper motor system and started devising ways to make it work for a Dublo version.
The following is the result of over eight months work, including lots of research, mock-ups, lots of testing of Arduino sketches, blagging the services of a skilled metal lathe operator (although I did get go have a go) and many, many hours. Up until now I've kept details about this to a minimum and deliberately kept it away from this blog, just in case the whole thing failed. So here's what's been going on...
It seems a very long time ago that I did this to a Märklin turntable...
And this has served my layout reasonably well until recently when it died completely towards the end of an exhibition. There's also been the slightly annoying issue that by installing HD girders, I've made the bridge too narrow. This has meant that the outer tracks of the turntable were almost unusable and a better solution was needed. Once it died completely then the need to get my project work on the layout suddenly became more important.
Now the standard HD turntable is a pretty simple piece of kit. It's designed for manual operation and there are no gears, bearings or anything like that - just a couple of metal wipers in the bridge to ensure that contact is made to the right tracks and a centre boss that keeps it all centred, it's not even fixed to the bridge at all, so that was the first problem to overcome.
So we need a centre boss that can be driven by a motor shaft and that means that it needs to be firmly secured to the bridge of the turntable. That effectively rules out the original fixing. So after removing the single set of tracks on one side of the turntable, it was a reasonably simple task to strip it down.
After a fair degree of debating, the centre boss arrangement was designed (I can't take the credit for its design) that would effectively consist of a two-part fixing that would screw together. This would clamp the boss to the turntable to prevent slippage...
The top section of the centre boss is machined to sit snugly in the original hole...
With the bottom part designed to sit snug in the base...
By machining two flat edges, it was also possible to get pliers on this to tighten it up...
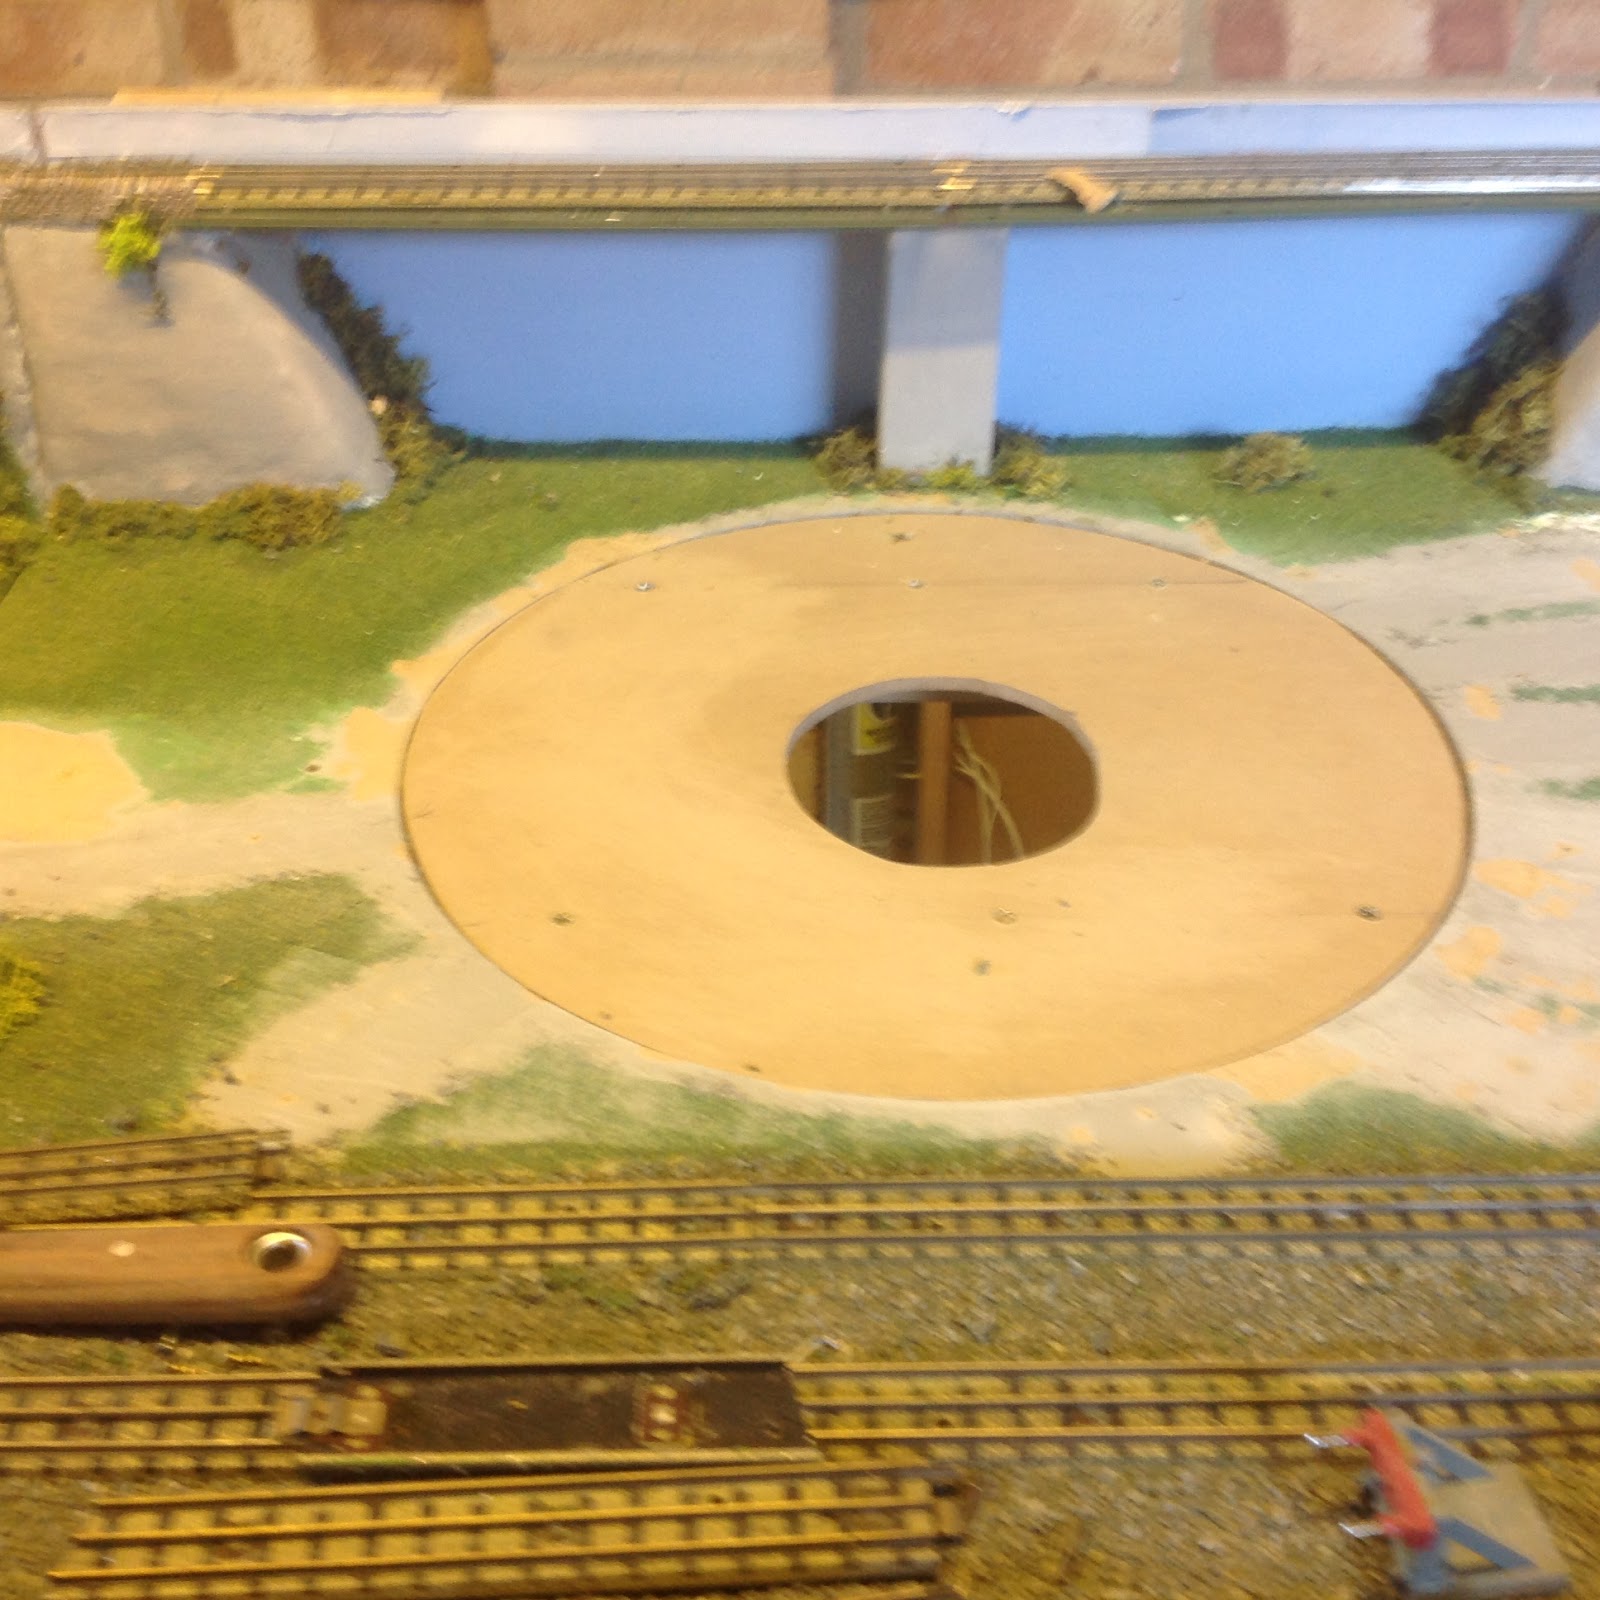
The centre rail has to be removed to gain access...
And then the motor was test fitted so that a suitable fixing bracket could be fabricated...
Like this...
Next thing required is the Arduino sketch to make it turn.
The plan was to use a rotary switch and program the Arduino to drive the motor by using pre-determined steps. This way it would avoid the need for any sensors or switches to index the turntable in the right positions. The switch was sourced and the code written, again after many hours of head-scratching I had a program that worked... in theory.
Sadly though, the little 5 volt stepper just couldn't turn the bridge. While a small child can easily turn an old Dublo turntable, a small stepper motor, driven from the centre shaft just couldn't do it.
So back to the drawing board. I decided that to get the torque required, a geared stepper was probably going to be the only way to make this thing move. Sadly that also meant that a new bracket was needed but a roughly mocked up system was used to test the power of the new, larger motor...
And this worked... sort of. It could turn the table but indexed in a different position each time, mainly because there was so much play in the bracket. The centre shaft also needed beefing up, so this time I was let loose on the lathe to machine a larger one...
Original vs beefed up version...
Now to mount the motor. Again more head-scratching and eventually the simplest way was to use two Nema mounting brackets. This worked perfectly...
After more testing, the turntable moved gently and quietly...
But it still refused to index correctly. Because we've introduced gears to the system, we also now have some free-play in the gearbox. Not much but enough to throw things out and stop the tracks lining up. Another solution was needed...
Within my original Arduino developer's kit was a couple of LDRs. So one of these was soldered to a piece of bread board and this was positioned through the hole of the original latch mechanism. The idea being that as the slits of the turntable come into view, the change in light level could be used as the trigger. I didn't want to use the old latch as it could create more drag on the turntable and put excessive strain on the motor. The LDR breadboard can just be seen below...
And if this was being used in a room with a constant light level, this would probably have been enough. BUT, we exhibit at various locations with varying light. A constant level of light was needed and the only logical thing to do was to drop in a LED through the top of the turntable and solder it to the bread board. This then needed some kind of housing...
An old signal, filed down, filled and painted. Makes a very good LED cover...
A little bit of light escaping as the cover has yet to be fixed into position.
This then meant that the original idea of using a selector switch would need to be revised. In the end, a much simpler sketch was created that uses the original toggle switch from the old Märklin turntable. This also means that the turntable behaves exactly like the old one did.
The sketch is in two parts. By holding the switch in position, the turntable will rotate continuously. Once the switch is released, the second part of the loop is programmed to look at the light sensor reading and if the turntable has been moved by the first step. The turntable will then continue to move until light is detected, it will then stop and the cycle is reset. Quite simple really!
Here the turntable is being tested for the first time...
And that's basically it, apart from some tweaking of the sensor levels, which can be done once installed to the layout.
So to make your own motorised turntable, you will need:
Arduino (I use a nano)
Easy stepper motor controller
Nema 17 motor with planetary gearbox
Motor mounting brackets
Toggle switch (on-off-on)
LED + resistor
LDR + resistor
A replacement centre boss
Wiring diagram:
All we need to do now is install it to the layout, that'll be dead easy... won't it..?