Friday 24 March 2017

Extension: Build progress part six


 This week's progress...

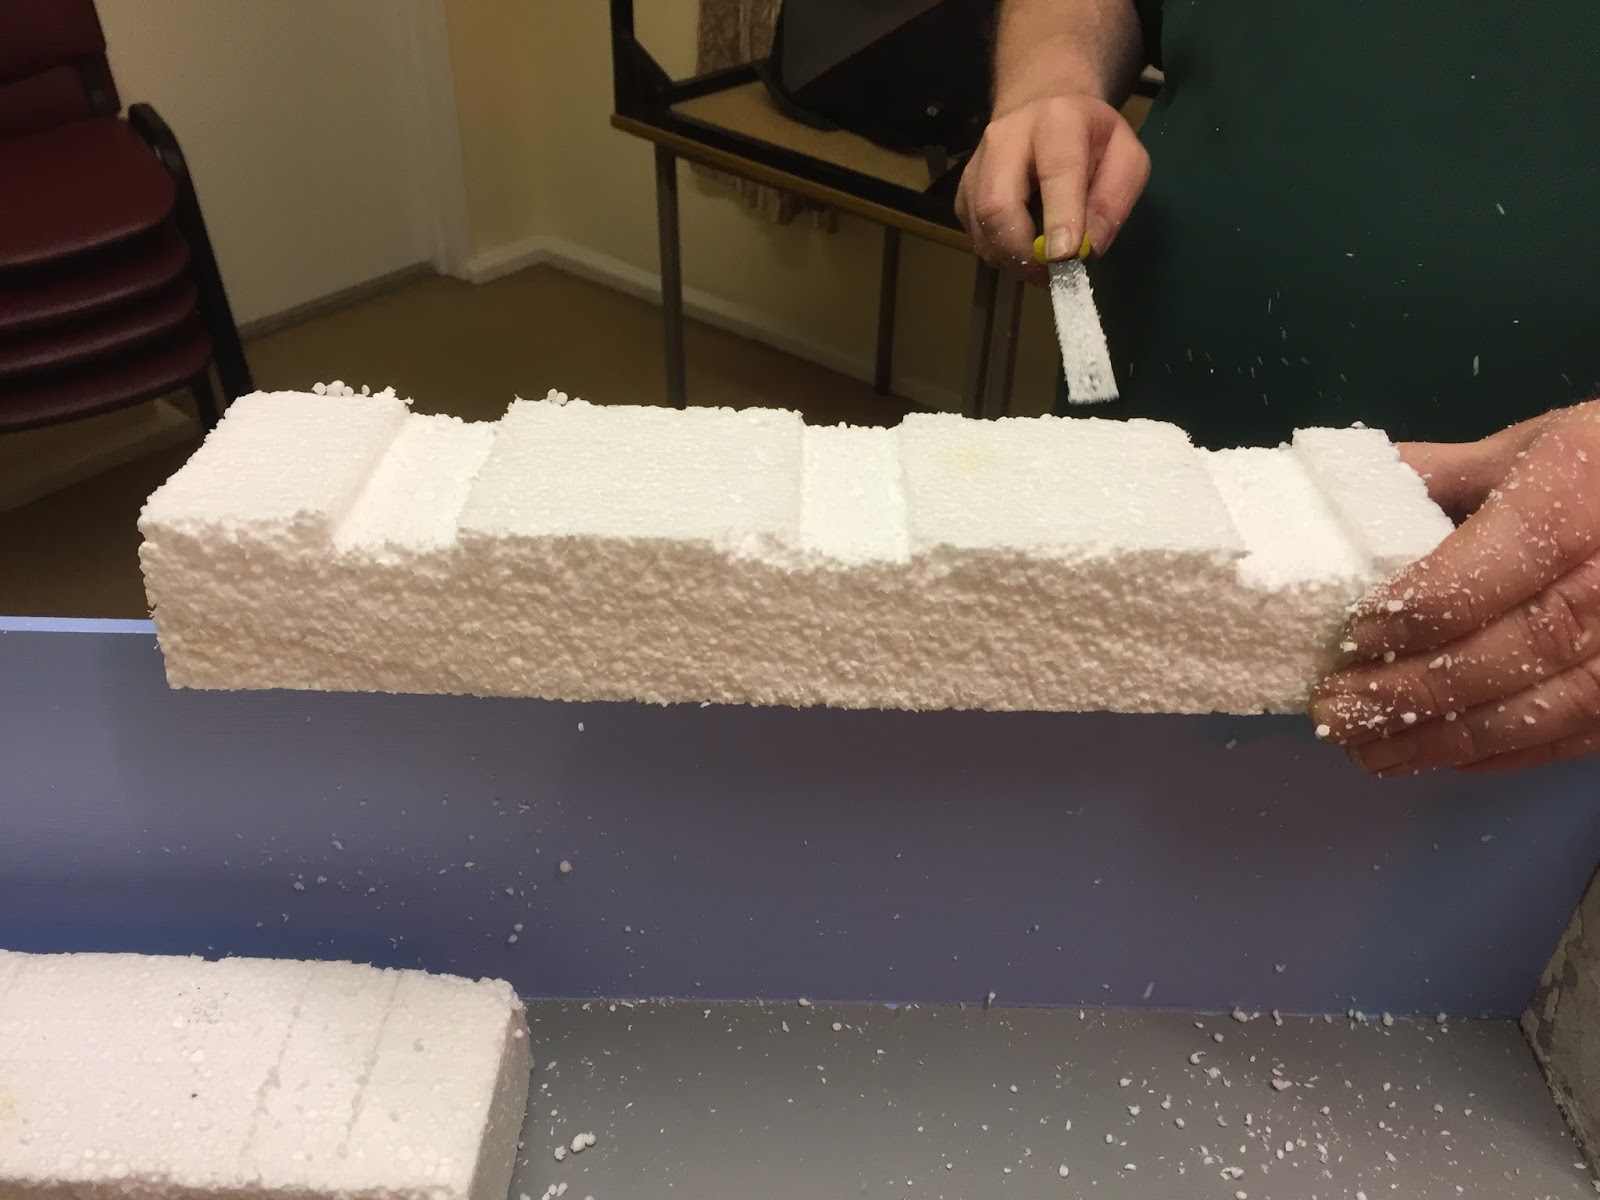
The polystyrene & modrock has been cut to allow a road to the level crossing.


The glue is now dry and scenery can begin.


Green paint added before any grass goes down.


Carefully painted inside each archway!


Now for grass.


Front of the layout now painted to match the other boards.


Grass & foliage starting to appear.


And along the front.


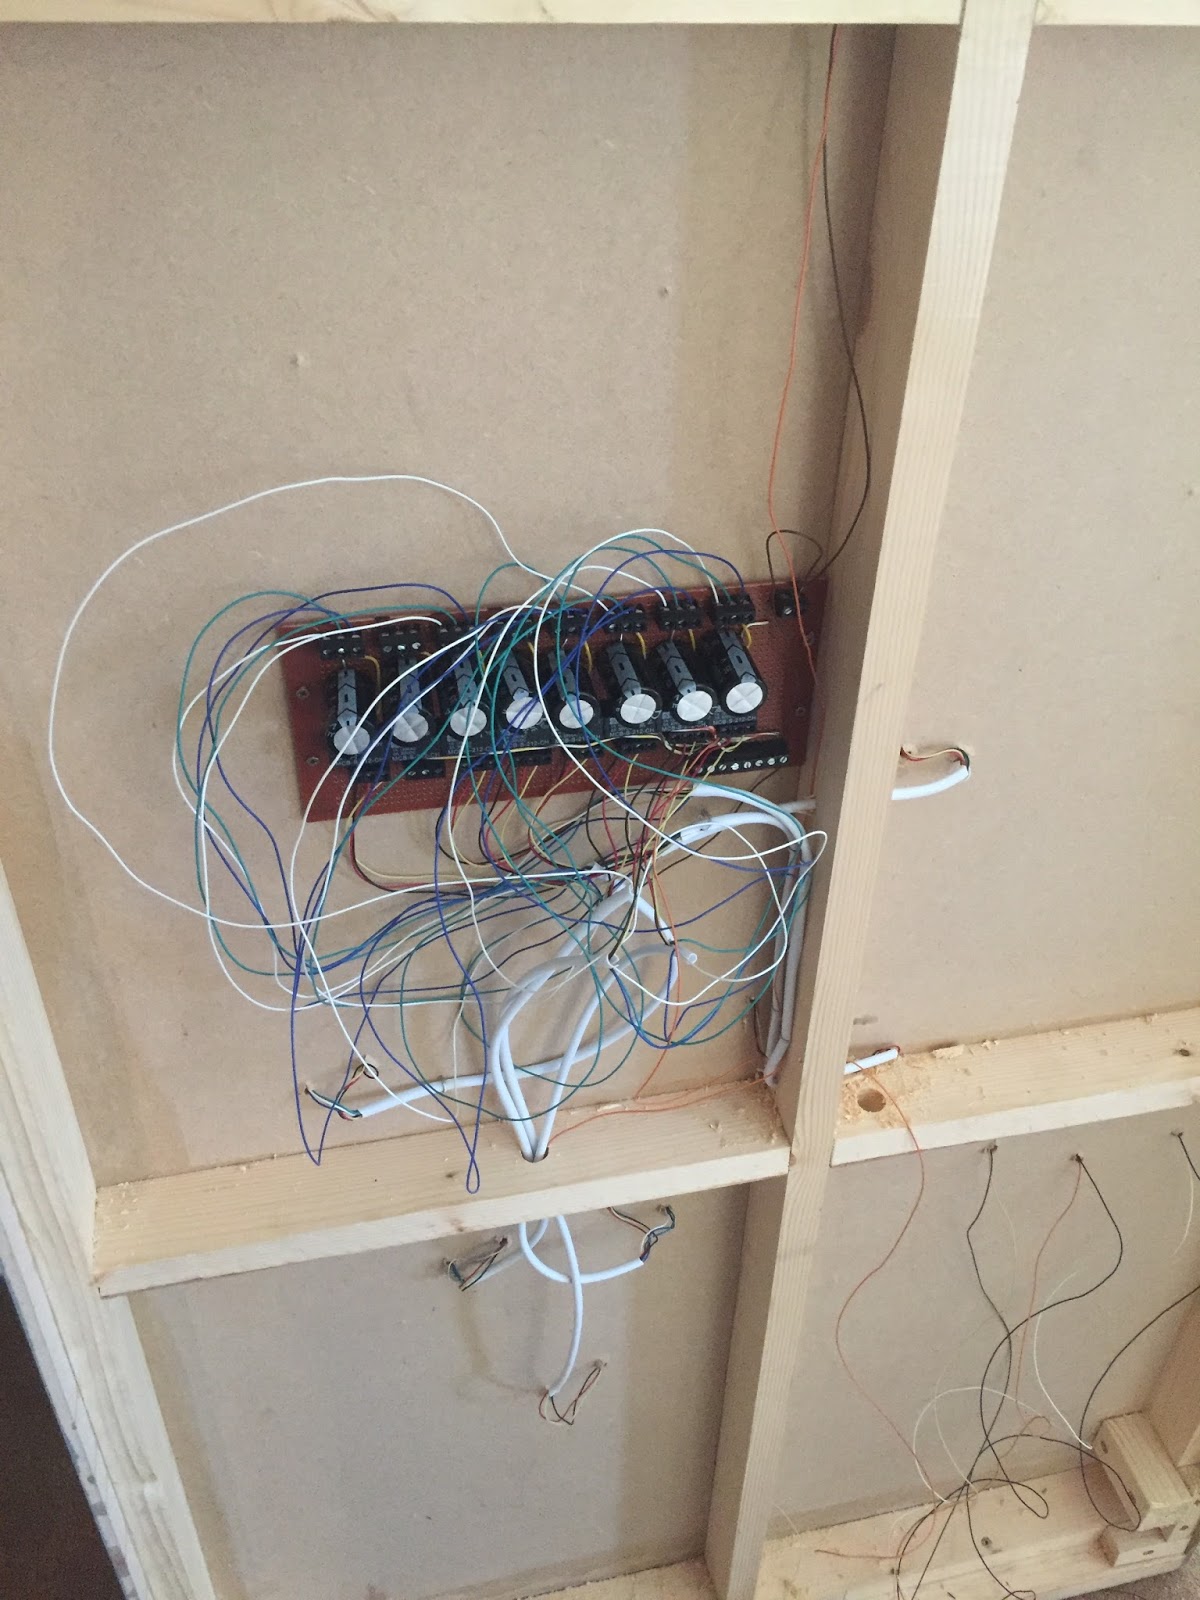
Meanwhile, I started work on the switch panel. We need eight more switches, so the only way to do this properly is to remove the current artwork from the front. Thankfully as this is vinyl, it peels off reasonably easily.


There have been many additions since the panel was built. It's looking untidy inside so this seemed like a good opportunity to strip it properly and tidy up.


The track layout is modified to reflect the additions and reprinted.


New circuit design incorporates the additional switches, some more colour added to differentiate between each control circuit. All the switches and meters had to be removed before adding the new vinyl and then applying lacquer.


Ideally this would have been completely re-designed but this would mean starting again with a new panel and as there are already over 70 LEDs in this panel, I really didn't fancy starting again!


It also became apparent during the last exhibition that the power supply for the points, lights & various Arduinos was nearing its capacity. So a second power supply is also being added and the power districts split between the front and rear boards.

I've also taken the opportunity to add some individual protection fuses for each of the transformers and upgrade the mains power lead. 

More to follow.


Wimrail 18th & 19th March

We were back at Wimborne School for the third time and our second appearance at Wimrail.

There were a number of gremlins on Saturday morning - the turntable refused to index properly, I suspect that during the recent extension work some dust has got into the light sensor so after a quick tweak of the programming to lower the sensitivity levels, it finally settled down.

A short occurred in the rear section, which also affected the turntable sidings. After lots of head-scratching and removing one of the sidings completely, the fault still hadn't cleared. Eventually the fault was found to be with one of the new patch leads - when we packed down at our last exhibition, we forgot to unplug the leads and one of them was ripped out of the connector as we dismantled the boards. I suspect it's the same lead and thankfully I made spares.

As for casualties, two this time - Dorchester Castle refused to move and Ludlow Castle failed towards the end of the second day, slowing to a crawl before it was taken off the tracks.

The newly refurbished blue & grey coaches made a successful debut, as did the additional coal wagons, although wagon number 20 had to be removed as the rake wouldn't fit in the rear siding!

This was the last scheduled outing as a 16ft layout. Work now continues to have the layout extended by the next outing at Abbey Hill.

With thanks to the Wimborne Model Railway Society for their hospitality and for keeping us well fed!

Pictures below...


 New acquisition, genuine City of Liverpool made an impressive debut!


Ludlow Castle, shortly before it failed!


More double heading.


Friday 17 March 2017

Blue & grey mk1 super detail coaches

Since gaining a few more super detail coaches recently, I decided to revisit the overlays and have a go at making some blue & grey mk1 coaches. The first EMU project was completed over two years ago and still looks great - no peeling of the transfers, which is quite a common problem, especially with paper based overlays, hence these are vinyl based.

The thinking was that having done the blue & grey EMU project, creating mk1 coaches would be pretty easy & straightforward... it wasn't!

The only thing usable from the original EMU project was the blue & grey backgrounds, everything else had to be recreated.

With the EMUs, the window configuration is totally different. This time I need to produce vinyls that need to be cut in much finer detail, especially the individual panels within the window design of the mk1 coach. These would have to be drawn electronically.

So we start off by taking a scan of a mk1 coach body so that I have something to work with. And we end up with this:


Now I'm going to have to replicate this design electronically, so the easiest way was to effectively trace over the top of the existing image. No fancy graphics packages here, this is all done using the basic shapes found within MS Publisher.


So now we have everything traced. For the printing process we only need the door & hinge lines and coach numbers, all the windows will be cut, but we need to setup the Silhouette machine to cut in the right places, hence we need accurate outlines of all the windows.

When separated from the original source image, we end up with a tracing that looks like this:


So we now need to create the cutting diagram, so we end up with this: 


But we also need this version for the final print:

Now the fiddly stuff. To take a tracing of the windows at this scale would produce cuts that are unsatisfactory, so I start off with large versions of each type of window, create the cut template and then insert individually along each of the coach sides.

A time consuming process, by this stage all the windows have been positioned and the overall image sized to the dimensions of the coach body. Then we're ready to print & cut.


 The graphics for the other coaches are produced in exactly the same way, here the 1st & 2nd class coach is printed and cut:


 The vinyls peel off the sheet, leaving the internal windows behind!


These are then lined up over the original coach and smoothed into place. 


Once the position is correct, the whole thing is coated in lacquer to seal and protect the printed image.


The original coach roof looks too light.


So these were painted in a darker shade of grey.

And the final results:

1st & 2nd:


Brake van: 


Open 2nd class saloon:


With all the window templates filed, I can now produce further blue & grey coaches for the layout.

Tuesday 14 March 2017

Extension: Build progress part five

Since last week's update, the front & rear sections have now been wired.


The extension was fitted between the existing boards for the first time. Some warping has occurred which was to be expected (it happened with the other boards too) and the track height is slightly out on one side so this will need to be raised slightly. Other than that, the boards and track line up pretty well.


The viaducts needed to be cut to size to fit into the five feet of space.


These were then test-fitted along the back of the board.


Yellow LED strips (left over from the initial build) were installed in the roofs of the engine sheds.


And the polystyrene filed to accommodate the arches of the viaducts.


The board dips slightly in the centre and this could be seen with the viaduct as well, so later on we screwed the viaducts to the back of the board to keep them level. The perspex front has also now been drilled and bolted into place.


The plastic protection will remain in-situ until modelling has been completed, this will reduce the risk of scratching it.


We need power to the track section on the upper loop, so two holes were drilled into this viaduct section and the wires threaded through.


PVA glue was laid under the polystyrene ready to fix into position.


The gap here is where there will eventually be a road linking the crossing.


The track wires then need to be routed to the underside of the board, a screwdriver was used to assist with this.


And the viaduct can finally be put back into its final position.


Need to straighten the track before screwing into place.


Some more, shaped polystyrene about to be added to the front of the viaducts.


Modrock will be added over the top before scenery is added.


There was a lot of debate about where the engine sheds should go. The right hand shed is fixed into position.


And the left hand one is left loose until scenery is complete. It'll now be sited in front of the viaduct, otherwise it's difficult to see the operation of the crossing & signals!


After tidying and vacuuming (removing the snow scene!)


After an evening of hard work, the look of the new board has been transformed.


Electrically the wiring is complete but untested - bringing the switch panel would be too distracting!


Although not genuine Hornby Dublo viaducts, the effect is quite impressive!
 

Now the scenery can begin...