Wednesday, 16 November 2016

Revamping the upper loop - part two

With the timber cut and checked for alignment, the side protection is added...


This should stop anything from flying off the top!


Then the new sections were painted in grey primer... 


Time for another test fitting before we fit the dowel pins, the previous rear section had no pins fitted so this should keep everything nicely lined up...


Finally catches were added, although these are a bit weak so some stronger ones have been ordered... 


Some sanding required before the track can be laid, then the electrical work will commence to wire the additional points required.

More to follow...

Sunday, 6 November 2016

Revamping the upper loop - part one

Having been planned for some time, and then repeatedly put off, we finally commenced the long overdue task of replacing the rear section of the upper loop as we have no more scheduled outings until January!

Although it's worked reasonably well over the last two years, there are a number of problems with it:
  1. It uses inner radius curves, which causes issues with longer trains
  2. It's primarily constructed from 6mm MDF, which is warping
  3. It's currently in four sections - more sections equals more problems
  4. It has only two sidings, We're running out of space!
So in order to conduct this task properly, we needed to fully assemble the layout first to ensure that the new upper section is accurately marked out and cut...


As we're using the large radius curves, some ballast on the front section had to be removed...


The new, wider radius is test fitted to ensure that it won't overhang too much...


This we can live with...


The replacement section is being fabricated from 9mm plywood - much stronger and less prone to warpage,,,


The track is laid onto the board so that we can draw around it...


And we can now fit a four road siding in place of the original two road...


Two coaches were used for gauge checking...


We could then draw the outline ready for cutting...


Space for a cup holder - essential!


Then out with the power tools...


The downside of this process it that lots of timber will be wasted...


Lots of timber wasted...


The track is then reinstated to check that everything still fits...


And then it's time to do the same thing at the other end...


 Marking out the other end...


Mid-way through cutting, the inner section is removed...


And the other end is now cut and tested...


We're now ready to install the middle section...


The kitchen legs from the original rear section proved really successful, so these were reclaimed but had to be located in different positions so that they don't interfere with the fiddle yard tracks...


The middle section is then cut to size - this is now one complete section. Currently this is in two parts and there's a pronounced sag in the middle. The single section, coupled with the wider and stronger timber should make the top loop a whole lot more reliable...


But the process generated a fair amount of mess!


Now the tracks and legs have to be removed so that the new sections can be painted to match the rest of the layout. Then the wiring will have to be altered and allowance made for three points at each end so the switch panel will also have to be updated.

More to follow...

Sunday, 30 October 2016

Weymouth Model Railway Association Exhibition

Our last scheduled outing for 2016 saw us back at our home club for our annual exhibition.

Regular viewers will know that this is where it all began back in 2014 for us and this was our third appearance with I 'ad That.

This time we were promoted to the main hall and after a leisurely setup on Friday evening, and after ironing out a number of minor issues on Saturday morning (even the mail train wouldn't play nicely!) we settled in to two days of solid running.

Star of the weekend was the Prototype Deltic, which arrived earlier in the week and just in time to be included. It just looks perfect on the layout and of course, it has lights!

The Deltic saw lots of use across the two days, here it's just passing the mail train on the inner track, and the Bachmann DMU working the shuttle...


The Deltic then poses in the main station...


This time we put the two 8Fs on the mail train for a while. These are running a little slower than I would like so they're on the list for locos in need of attention through the winter downtime...


The Blue EMU performed without fault as ever...


The recent turntable works have gone un-noticed by many until pointed out. The turntable continued to work well, albeit that it still intermittently turns by itself - another job for the list...
 

The Blue & Grey EMU was put to work on the top loop (as the Deltic was used so much!) but failed on the second day with a defective gear worm. Another one to add to the list...


Twin 8Fs in the station, with 0-6-2 2274 hauling the three recently refurbished maroon coaches. 2273, it's sister loco, is also on the fix list!


I found time since the last outing to produce five more Dorchester Gas & Coke wagons (all numbered) which takes the total up to fifteen. The first five will be re-done over the winter as they were fitted with paper overlays rather than vinyl & lacquer like the rest. This will give them a much shinier and tougher finish... 


Busy outer fiddle yard, with the Deltics all seeing plenty of action... 


I also purchased a GWR push-pull coach for use on the shuttle. It came without any couplings so a HD coupling was quickly glued to one end to allow push-pull operation on the shuttle. OK so it's a Lima but it looks the part and fits in well with the GWR rail motor (even if it is a Southern station!)


Once again we were very well received and picked up more potential bookings for 2017. After what we both agreed had been two of the most enjoyable days we've had so far, it was time to pack up again and head home.

And that, for the moment at least, is it for 2016. Attentions can now be turned towards maintenance of the rolling stock and the potential replacement of the upper loop rear section, which has been planned and postponed several times this year. The electronic signal aspect control has still yet to be fitted and, once the future transportation arrangements have been finalised, there's still a possibility of a five foot extension.

Watch this space...


Sunday, 2 October 2016

Fareham Railex

Having left home at an obscene time of the morning, we arrived early on Saturday morning to commence setting up for another weekend exhibition. This time we were making our first appearance at Fareham Railex.

Although the setup went reasonably well, the gremlins crept in, and came thick & fast too!

One of the problems with working on sections of the layout individually is that there is no opportunity to fully test the entire layout. The first fault of the day was no lights working in boards two & three, so a makeshift connection was made between boards one and two to rectify this.

We then discovered a number of dead siding tracks at the back, a number of points not operating and then no TPO working. This turned out to be a problem within the control panel - while adding the additional wire for the new turntable control, another had become dislodged, which wiped out the power supply to more than half of the switches within the panel. Thankfully a test meter is always carried, along with a circuit diagram and schematic. This makes fault finding easier but still tricky when all six boards are clamped together!

The newly installed turntable, having worked initially, then refused to play ball. It turned out that some ballast from the sidings had got caught within the mechanism, jamming the whole thing. After a quick strip-down and some lubrication, the turntable eventually settled into reliable operation - a huge relief, although at times it developed a mind of its own and started turning at random. I suspect that there's some electrical interference so an independent power supply may be required in future.

So Saturday morning was a bit of a nightmare but once all the gremlins were ironed out, we settled into reliable running. No breakdowns this time so nothing to fix. The turntable was undoubtedly the star of the show.

The new configuration is a lot tidier than it was previously:


Finally we're able to use all of the tracks off the turntable. The far right hand points aren't yet wired-in, so this was left as a static siding, which we parked the breakdown crane in!


Very few photos this time but lots of video footage, especially of the turntable. We also managed a triple headed rake of 0-6-2 tanks, for no other reason than we could!

Video to follow, once it's been compiled!

Sunday, 25 September 2016

Installing the turntable - part two

Work to re-ballast all the sidings that were previously ripped up has now been completed.


Some more foliage has been added around the turntable and from this angle, the LED housing can't be seen (obscured by the tree!)


The signal box, now relocated, has its own pathway and a few flowers


And while we were at it, some repairs to the upper loop tracks were done to improve the connection between the boards, which should improve reliability. 


We're ready for exhibitions again!

Saturday, 24 September 2016

Clan Line repaired

When Clan Line failed during our last exhibition, there was concern that the armature had been cooked. Lots of smoke from the cab and no sign of life whatsoever.

Having stripped it down, the armature shows equal resistance across all three poles and no earth faults. Upon reassembly the issue was found to be that there wasn't enough free-play in the armature. Fine when cold but with heat comes expansion, and that expansion was enough to jam the armature. It had been running for some considerable time before it failed and was pretty hot.

A quick tweak of the end bearing screw and some light lubrication and Clan Line is back in service, ready for the next exhibition.

You wouldn't get that kind of luck with a modern plastic loco!

Saturday, 3 September 2016

Installing the turntable - part one

The last time I had a genuine Dublo turntable, it was on the old layout...


So with this one in need of replacement, and with the motorised HD version completed (as per the last post) it's time for this one to come out...


Should be a nice, simple task shouldn't it?

Nope.

To demonstrate the problem more clearly, here's the Märklin being installed in 2014. Note the track positions on both sides...


And compare that to how the genuine version looks (this is the same turntable being re-used!)


One of the many lessons learnt with the first layout was to keep all trackwork as straight as possible - lots of kinks and bends on the turntable siding created lots of issues. To do that here, we'll need to do some serious re-modelling.

So out with the old and onto the first problem...


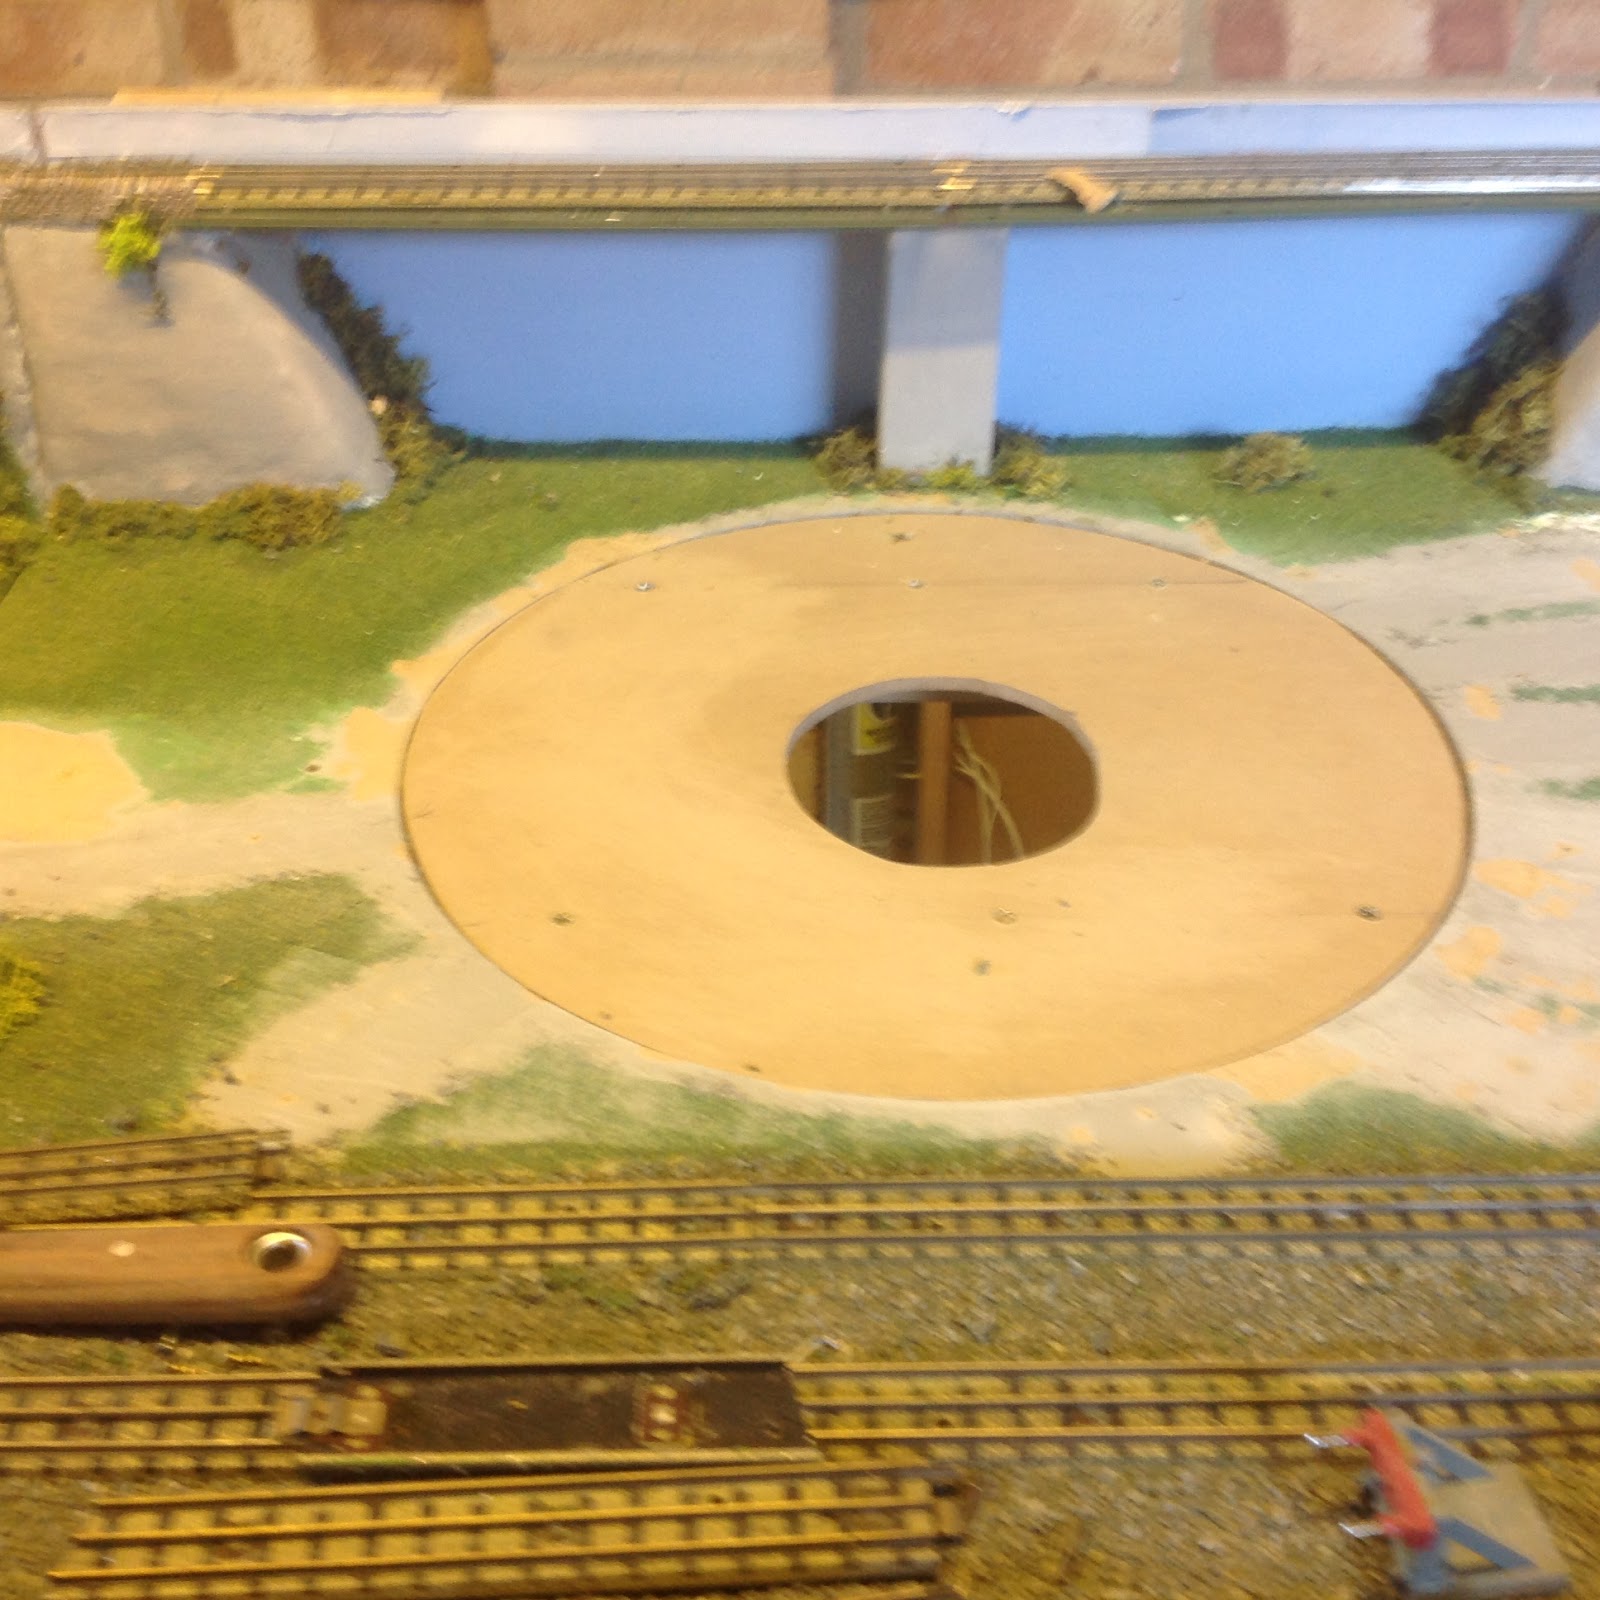
A big hole! - The only way to overcome the difference in track height between the two systems.

Then all the sidings have to come up as these will no longer line up...


To get the straight track that we need, we needed to scale back the hillside in the centre board (known as Miller Mound!) so drastic measures required...


Not bad for shed insulation. We could have left it as a chalk face, but we prefer grass!


Still on deconstruction at this point...


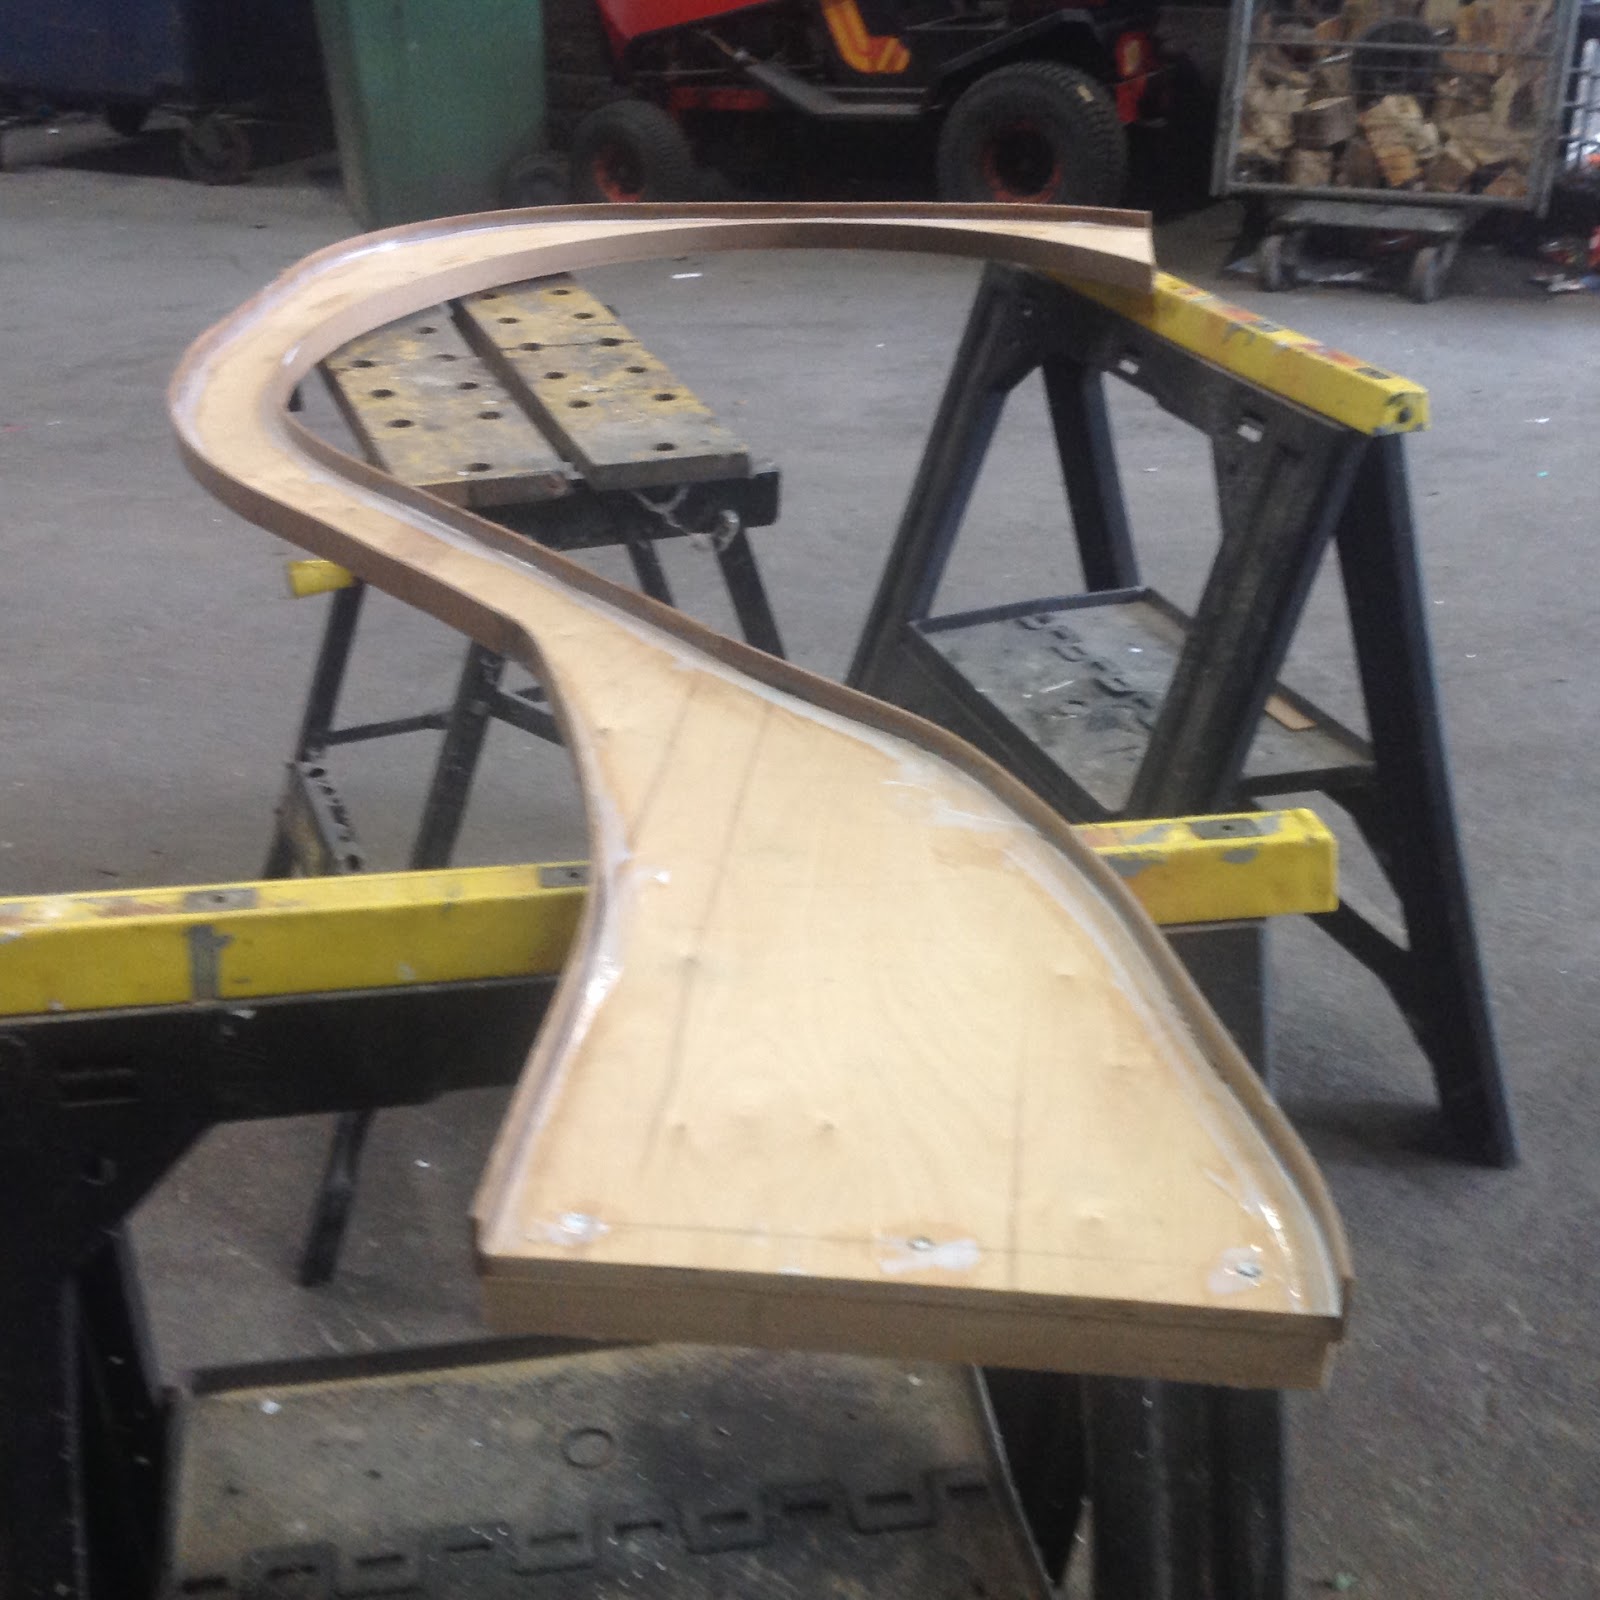
The old turntable made a very good template to cut a new piece of board. The hole is required for the motor & gearbox...


And of course all the ballast has to come up...


Miller Mound being remodelled with leftover polystyrene...


Filling the gaps...


A better look at the mound, with its new, narrower profile...


Which then had modrock applied...


 Then painted ready for new grass...


Then the grass is applied in layers. It's very hard to see the join!


With the board suitably prepared, time to fit the new (old) turntable and start laying the tracks...


The new trackwork to the turntable is now straight. There's another reason for making this straight (watch this space...) the signal box has had to be relocated from the end board to the centre and is placed in between the tracks...


Still more track to be laid..


Checking alignment, the turntable bridge isn't quite centred here so looks slightly out of line...


More grass applied, loading gauge put back...


More alignment checking as the rest of the siding tracks are put back. Much narrower than with the previous turntable...


Some paint and ballast starting to appear. The track along the back isn't fixed because I have another plan...


I reckon, with a bit of modification, we could sneak in a 6th road at the back...


Ballasting the tracks leading to the turntable...


The points had to be moved further back to accommodate the new alignment, so all the trackwork and ballast had to be dug out from the main lines to the tunnel...


 See - I said we could get another road in there!

A modified pair of points needed to create road six...


 Some more greenery starting to appear...


 Had to remove the LED strip from the outer board and rewire it into the centre board, so here it's being glued back into the signal box...


So we'll now have room to park two more locos and all six roads should be full usable, unlike with the old version!


We're happy!


But still loads to do...