Saturday, 11 April 2015

Repaints in action

Today's open day at the Weymouth model Railway Assocation gave me an opportunity to test the layout fully prior to next weekend's two day exhibition in Wimborne. It also gave me the chance to test my home-made restorations.

Testing on these had been limited to running on the bench with wires across the pickups and wheels, hence two of them ran in reverse, this was swiftly resolved by turning the magnets. However I manged to forget to refit the handrails to 80054 completely, so this ran without for the duration of the day and are unlikely to be refitted before next weekend.

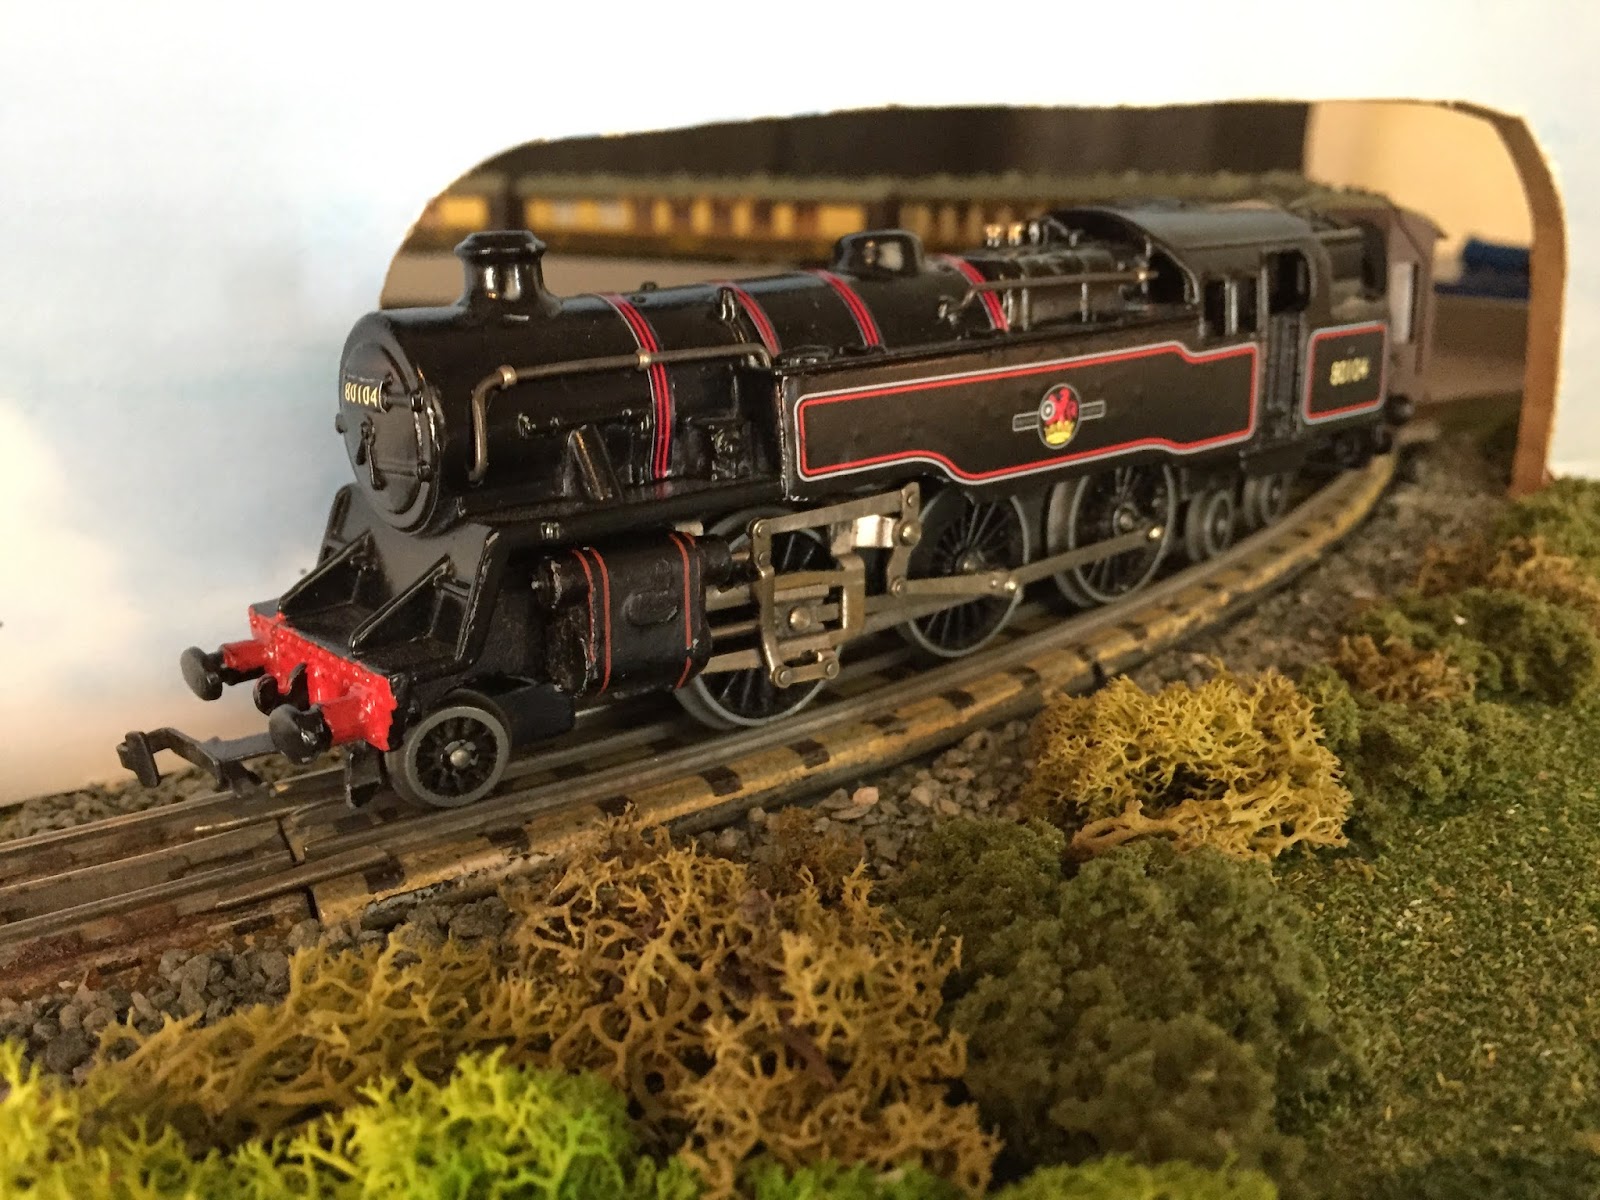
Four restored 2-6-4 locos, all formerly 80054 standard tanks

80104 & 80105

80053 & 80054 (minus handrails)

69568 & 69569 on the shuttle - these were very similarly matched for power and ran well together 

69567 waiting in the shuttle siding, this one was sent out on the main loop later in the day


69568 hauling the local goods train

69569 on the passenger shuttle

80104 rounds the corner on the upper loop hauling Pullman coaches

69569 waiting at Brough for the goods train to return

69568 & 69569 together

80104 waits in the upper rear siding

80054 & 80105 await their turns in the turntable sidings

All performed really well, some welcome additions and a bit of variety.

Not bad for someone with very little artistic experience!

Friday, 10 April 2015

Three locos for under 50 quid!

£46.77 to be exact.

After some moderate success with my home-made transfers, I decided I needed more tank engines to experiment on.

For the 0-6-2 locos, I've already revisited my first ever loco repaint and replaced the running numbers and boiler transfers - the originals were quite dull and the numbers hard to read because the transfers were paper based and I used too much lacquer when finishing the loco body. This has been numbered 69567 to replace my existing 69567 loco.

The Southern 408 green body has been removed from its loco chassis and replaced with another repainted body, this one has become 69569. Finally the chassis that's spent the last few months masquerading as Train Cam finally received a shiny repainted body and renumbered 69568. My original 69567 will come off the layout at the end of tomorrow's run and will probably end up in a British Railways plain livery.
loco formerly known as Train Cam finally gets a new body!
For £16.05 I netted this 0-6-2 loco...


Haven't tested it yet but needed a front coupling for the ex-Train Cam chassis, I also snapped a rear coupling on the ex-Southern loco and lost one of the brush springs, so I know these three items will need sorting before I get to the rest. It will be restored and not used as a source of spares. Most likely I will restore this chassis, refit the Southern green body and sell the loco. The Southern body is in excellent condition so it will be interesting to see what it's worth - if it fetches more than £16.05 then I'm in profit!

As for 2-6-4 locos, I find that the GWR green 4mt loco spends most, if not all of its time sat in the sidings (if it comes out of the box at all) nothing wrong with the loco, just don't use it, so time for a body swap. The other two of the locos purchased were 80054 2-6-4 locos, one arrived in an original box, only cost me £16.00 and actually ran surprisingly well, even before the usual rework treatment and even with a carbon brush that had split horizontally in two.

The other loco was sold as a non-runner and looked like this:


Now these are the projects I love! - You know exactly what you're going to get and all for £14.26!

I've been caught out several times at toy fairs and on Ebay with locos sold as being in full working order that don't run. The most expensive example was Sir Nigel Gresley, which cost me over £70 to buy, and a lot more on top to make it run properly.

My first ever repair was an 80054 and I love the simple mechanics of these locos. This one was sold as a non-runner / spares or repairs and the seller stated that it didn't move when power was applied.

When I applied power, all I got was a nice big puff of smoke out of the cab. My first thoughts were that the armature was probably toast. There are some out there who would just strip this of its salvageable parts and file the rest straight into the bin. Not me though.

After performing the usual checks on the brush tube insulation and a good clean up, all that was wrong here was a build up of carbon between the commutator segments. A quick clean with lighter fluid and a buff of the commutator segments with a com stick, plus a new magnet and lube and I had equal resistance across all three armature segments and a fully operational chassis.

The body will be stripped in due course but as previously stated, I have a load of spare bodies and had reworked some 2-6-4 bodies ready for swapping. This one has now become 80053 after also straightening out both couplings.

I ended up with four home-made 2-6-4 bodies, three of which were stripped and repainted, the other I cheated and just applied new decals as the paintwork was already mint. Along with 80053, I've also produced 80104 and 80105, the real versions of these survive today in preservation and one is based at Swanage, which is my nearest preserved railway so is a little homage!

Finally, I realised that it was time to revisit my first ever repair again. Now my £13 80054 that I bought all that time ago has been running quite happily since that first strip down and I've resisted replacing it, even when better examples have turned up but with its new, shiny 80053 running mate it really was time to do something cosmetic and I really wanted these to match, so the last of the new repaints was done as 80054 and the bodies swapped over.

All of these will get their first proper outings at the Weymouth open day tomorrow, in time for our next major exhibition in Wimborne next week.

Pictures to follow...

Wednesday, 25 March 2015

Exhibition diary updated

Additional diary date added to the exhibition diary:

We will now be exhibiting the layout at Yeovil Railway Centre's model railway exhibition on the 9th & 10th May.


Sunday, 22 March 2015

Duchess of Rutland

This one's been in the collection for a while and was bought as a repainted Duchess of Montrose. It's had a reasonable amount of use but tended to be a bit sticky at times, although I'd never actually taken this one apart.

There are some clues as to why this isn't a great performer, the first can be seen on the left of the first picture (the little plastic insulator under the rod pin) apart from the major reason why this one doesn't currently run!

Second clue, more evidence of insulation and a small strip of wire, yep it's been 2 railed at some point previously and then returned to 3 rail operation, although the resistance readings of the wheels on the modified side didn't yield particularly good continuity readings.


Yet more evidence of insulation, presumably the foam is to stop the insulated side touching the body.


I then found that two of the wheels slipped quite badly on their isolated axles. I already knew that removing the rod pins was going to be hard as they've been flattened on the rear face, so after trawling through the spares box I managed to find another Montrose chassis and enough wheels and connecting rods to assemble a replacement chassis.

After a final clean, lube and neo magnet, the loco is back in full working order with current return to all wheels as it should be.


It's not the tidiest or prettiest loco in my collection but it's something a bit different and I quite like it.

Wednesday, 18 March 2015

DIY

As stated previously, my skills lie in electrical / mechanical and NOT artwork.

However, this doesn't stop me from having a go, so after pondering whether it would be possible to construct my own loco transfers from scratch, using only the resources that I already have, I decided to have a go and with so many spare bodies now, I really had nothing to lose.

To start off with, I took these two, rather sorry looking bodies:


Once scrubbed, sanded and cleaned, they were primed - no particular reason for using white primer, just that I'd run out of grey...


A nice, satin black, blank canvas (with the buffer ends painted red)


After many hours of experimentation and tweaking, I managed to produced a full set of liners and numbers, which I constructed using Microsoft Publisher! I found the British Railways logos and re-coloured where needed. After several trial runs with cheap paper had the dimensions near enough right, so time to print the graphics onto self-adhesive vinyl (left over from the switch panel) a quick dusting of lacquer to fix the ink and then once dried, the graphics were cut out ready to apply:


All graphics in place, two more coats of satin lacquer and this is the result:


Now for the 2-6-4, slightly more difficult here due to the shape of the boiler graphics. I actually ended up scanning another 2-6-4 body to get a template to work to. Again same process as above and this is the loco after applying the number graphic first:


More graphics printed at the same time, rather than waste the vinyl:


I also had another body that I had  recently bought and although the paintwork was immaculate, the graphics weren't up to scratch, so I carefully peeled them off, applied my new transfers in the same way and finished with two coats of lacquer.

So I now have 80053 and 80104 ready to be fitted: 


 This is the 2-6-4 after being left to dry and then reassembled:


There is some fine-tuning required to the main transfers, they were difficult to line up with the number graphics and this has been tweaked on the computer ready for any further body upgrades. This one isn't perfect but it's perfectly usable in this condition and far, far better than how it looked previously.

I still prefer the mechanical stuff though.

Sunday, 15 March 2015

Storage

Safe storage of my rolling stock has become a bit of an issue.

I find myself using a combination of the original boxes (where I have them) and storage foam.

This can mean that it takes a while to safely extract and refit locos back into their boxes, which can also cause wear to the boxes, also the storage foam isn't very secure and the self-adhesive sections of the foam have a nasty habit of actually sticking to the loco bodies. In some cases this has lifted some of the paint, so I need a better solution.

After trawling the internet, a number of forums users recommended these from Modellers Mecca...


There are two internal trays, which are formed from cardboard so require some minimal (but easy) assembly and the dividers can be arranged to suit the stock.

Here the Bachmann 4 CEP is safely stored away, along with a Co-Bo. The Bacmann stock was previously stored in its original plastic / cardboard packaging, which takes ages to remove and refit properly!


Safe storage for up to 30 trucks & wagons (15 per tray) I may add some tissue paper to provide some extra stability.


For added geekiness, I photographed the contents of each box and printed labels which I'll attach to each box to identify which stock belongs to which box.

Should make setting up and packing down much quicker.

Repair projects

After another unsuccessful attempt to three rail my 0-6-0 tank engine, I've sidelined it while I think of a better way to complete the project.

Meanwhile, after going through some of the stock that I'd removed from the storage boxes when I streamlined to two rather than three boxes, I realised that there was some work to be done.

When I ordered a reproduction pick up assembly for my E3002 conversion, I took the liberty of ordering two of them as I also had a second Co-Bo, which was also a two rail conversion. It had been running with a cut-down standard pick up system, and when this proved unreliable I fitted a Marklin skate. This also didn't run quite as smoothly as the other, genuine Co-Bo but it's now sporting a shiny new pick up (from Coopertrains)


Also in need of assistance is the Duchess of Rutland, this was a cheap Ebay purchase, sold as a poor repaint that actually (to me) looks ok. It lost its connecting rod during a run several months ago. Normally the problem is with the connecting pins, however on this one the pins are stuck firmly in position. After some research on the HRCA website it appears that HD did sometimes flatten these off from behind. The problem here appears to be with the rod itself and I should have sufficient spare bits up in the loft to restore this back to running operation...


Wednesday, 18 February 2015

Idle hands...

For the first time in over a year, I have very little to do.

It's not uncommon after a two day session to come home with a loco or two in need of TLC but once again this time there were no casualties.

I'll need to investigate a small issue with the LED signals which should just involve swapping the polarity and I need to modify two more electric points for spares but that's roughly an evening's work to complete both tasks.

I need another project! - I don't have sufficient spare track (or the funds) to rebuild in the loft and now that the new layout is finished and being shown multiple times during the year, I have ample opportunity to play trains, so a loft layout might not actually be needed, aside from a small test track maybe. Plus the extremes of temperature and the lightweight construction of my loft means that time spent up there would be limited and not terribly kind to the rolling stock.

So I've started searching for locos again and then reminded myself of the HD 0-6-0 tank that I bought ages ago and stripped. I managed to locate most of the parts from when I dismantled it, sorting the motor was easy with just a quick lube and a new magnet but now I have the challenge of three-railing it.


This particular loco was produced towards the end of Hornby Dublo construction and was only manufactured as a two rail model. The half inch motor was used on other locos, such as the 8F but the challenge here is that there are only three axles and the motor drive is taken from the centre axle - not a problem for two rail but for three rail, that's where the pick-up skate would go, there's a bloomin' big worm cog in the way. Then there's the space between the chassis and the motor assembly - there is little or no room to bolt through the pick-up assembly. A Marklin skate also wont fit.

If possible, and for the best running, I want proper HD pick-ups under here. I could use brass fasteners but these tend to require constant adjustment and as I intend to use this on the shuttle, the frequent travelling over the points will mean lots of adjustment - I've already had bitter experience of a Bachmann 2EPB pole-vaulting itself off the layout when the brass fastener dug itself into a gap in the third rail and that's not something that I'm keen to repeat.

I'm going to attempt to use the individual pick-up assemblies found under the Deltic, one either side of the main drive cog. I now probably need to ream the underside to accommodate and then work out a way to secure the pick-ups into position.

The reaming tool was last used for the Brighton Belle project and although initially I was unhappy with the way it ran, it has settled in quite nicely and now runs without issue.

This one I think will keep me busy for a while...


Sunday, 15 February 2015

Train Cam returns!

After finishing all the modifications, I filmed the layout again.

This time I remembered to capture the upper loop and turntable sidings and filmed in blocks so that there was some traffic flowing.

As the camera is fixed directly to the chassis (no body) of a 0-6-2 shunter (which needs some mechanical TLC) there is a fair amount of clatter.

So turn the volume down, and enjoy...

https://www.youtube.com/watch?v=lOcjM5b2ywc

Weekend run completed

 Another weekend of hard work.

What would normally be two days of playing trains was in reality one day of solid work and one day of playing trains!

After making some minor repairs to parts of the layout, it was time to link the three recently modified boards together for the first time and begin aligning the tracks. Some warpage has occurred and there were difficulties getting the front and rear sections to align. Some minor issues with two of the newly added points, which considering there are now 17 more pairs of electric points, some issues were expected.


Finally completed the electrical work to the turntable sidings - the isolators to allow parking two locos on each track were added when the layout was built but this part was never wired. After building a new relay control circuit, all of these isolators operate from one switch. And it works rather well!


The rear straight section of the upper loop warped badly over the winter so has been replaced with a new, dual layered plywood section. This was also replaced again after I measured the old one wrong!

We've also removed most of the old wooden supports and replaced with adjustable kitchen legs, which will allow better flexibility and height adjustment in future. The combination of these two modifications resulted in much smoother running.

The main lines now run through the centre of the fiddle yard and now complete trains, even the long goods train, can be driven into and out of the sidings and stored without issue and there's still enough space to store all the locos.

The E3002 electric loco, now completely modified and sporting a proper HD pick-up assembly, can be seen. Although it's a very smooth runner, the loco is only driven via one axle and struggled with the tight radius inner curves, the side frames also protrude so far that they were hitting the signals so I've removed them and stored them safely. As the outer loop is predominantly diesel and electric, it fits in really well.


On the inner (steam) loop, access to and from the turntable is now much smoother and easier to operate and whole trains can again be parked up.


The long goods train just about fits and even Brighton Belle, which of course isn't genuine HD or three rail, manages to negotiate the pointwork at either end.


Upper rear section now looking much straighter than before...


The new design incorporates some handy siding space for the diesel locos...


Viewed from the running rails, the new fiddle yard fans out from the centre via the standard HD points, into the modified ones...


And after all that work on the signal aspect controllers, I fitted one as a tester, to the far signal in this picture at the end of the main station. It worked exactly as expected and almost exactly as my Ipad simulator predicted. Next project will be to install them to the remaining signals. 


A successful weekend with no loco casualties. We're now ready for some 2015 exhibitions!

I managed to bring the video camera this time. With over 50 video files and nearly 5GB of footage, it will take a while to edit and upload.

Keep an eye on YouTube...


Thursday, 12 February 2015

Spoons

I've had occasional problems with some locos stalling over points.

Having researched further, it appears that the problem may be down to excessive wear on the pick-up shoes, or spoons as they're sometimes referred to.

The problem seems to be more so with the 0-6-2 tank engines, even though the pick-up skate is the same length as the standard locos, although it does tend to overhang slightly at one end which appears to be a design problem.

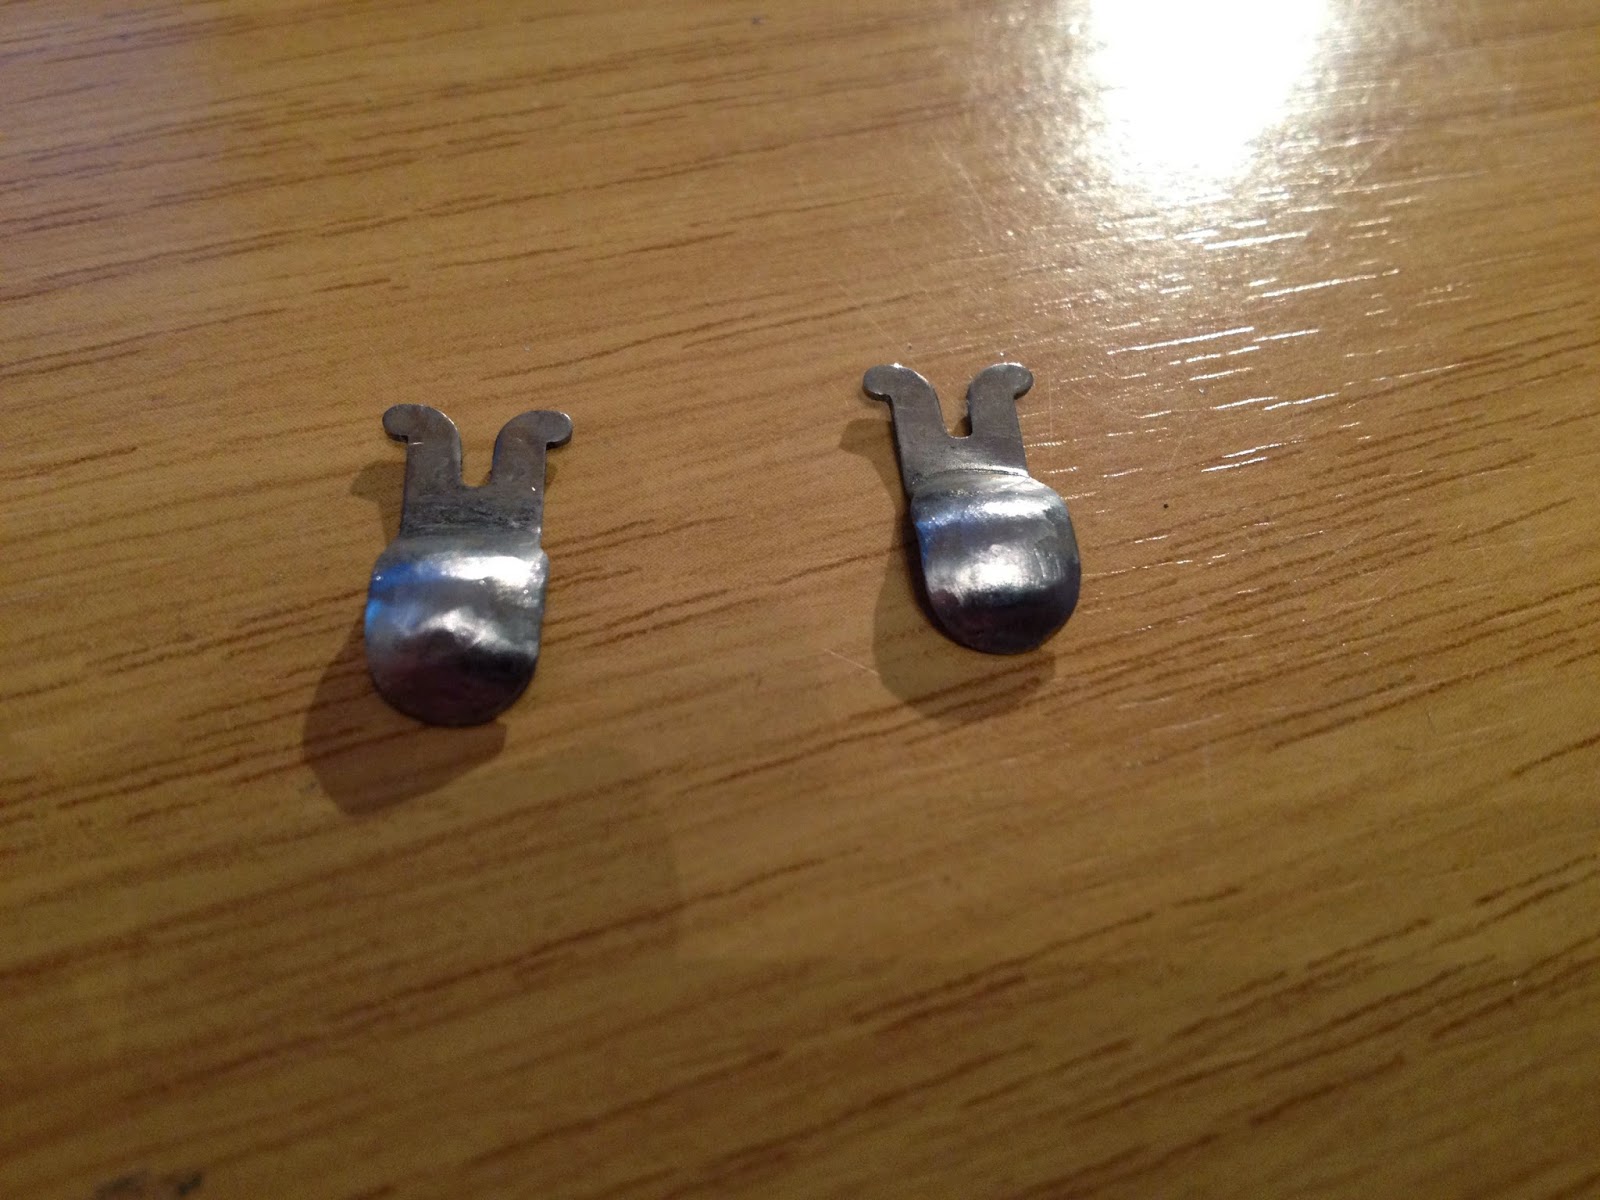
Having double-checked the pick-up spoons, a number were grooved quite badly so I've sourced some reproduction ones and replaced the worst looking ones, however I've also read that others have attempted to re-profile the old ones using solder, so I decided to test this for myself.

Of the three pairs of spoons below, the top left are the new, reproduction ones sourced recently. Top right is a pair that I previously experimented with, and the bottom pair are the two that were in the worst condition, the groove is clearly visible:


First job was to clean up the spoons, removing all dirt & grime ready for soldering:


Once cleaned, I applied heat from the soldering iron, then applied the solder:


Waiting for the solder to cool:


Once cooled, this is the result:


Now for some grinding:


And a final polish:


The solder will probably be much softer so these may require work again in future. I'll test them shortly.

Wednesday, 11 February 2015

Fiddle yard finished

This weekend sees the layout in action for a private two day session. This will be a chance to assemble the fiddle yard and align the tracks properly, while undertaking some other minor repairs & modifications.

All of the electric points and their control circuits are now in position, this presented a fair bit of additional wiring as can be seen below:


With the two end boards done, I then modified the tracks on the centre board. As expected this was reasonably easy as seven of the tracks were left in-situ from the previous design. The points that link the front and rear centre sections have been relocated to the end board, so the trackwork here has been changed to a simple straight and half curve, I drew around the old points before removing them so hopefully this will still line up. 


It's impossible to link the boards together at home but hopefully if I've done my planning properly, most of the tracks will line up and it shouldn't be too big a job to sort the rest.

While I'm working on the front boards, I intend to fit my signal aspect controls, which are now finished. The one here is designed to work two signals which protect one pair of points (one is red, one is green and the aspects swap as the points change)


The circuit is the same as the one designed in the previous post, with a trigger relay operated by the train movement charging the capacitor. The only addition is the 2K ohm variable resistor wired in series with the original resistor, this allows me to adjust the timing. With a 2200uF capacitor the times are between 15 and 30 seconds, with the larger 4700uF capacitor on one of the other boards, the timing can be adjusted between approx 20 and 60 seconds. This one will be fitted on the outer loop where I tend to run the goods train, which takes a while to fully clear the signal.

More pictures and videos to follow.